Applying for a passport or visa is stressful enough without having to hunt down a photo booth and pay $15 for a set of blurry, low-quality prints. With modern smartphone cameras and a bit of "know-how," you can take your own official passport photo at home. Our guide walks you through the technical requirements to ensure your application isn't rejected by the passport office.
Understanding the Technical Requirements
Most countries (US, UK, India, EU) have very strict rules. If your head is too small, your background isn't white, or you have a "shadow beard," your application will be returned. The key metrics are: Head height should be between 1 and 1 3/8 inches from the bottom of the chin to the top of the head (for a 2x2 inch US photo), and eyes must be exactly in a specific range.
Step 1: Setting the Stage (Lighting is Everything)
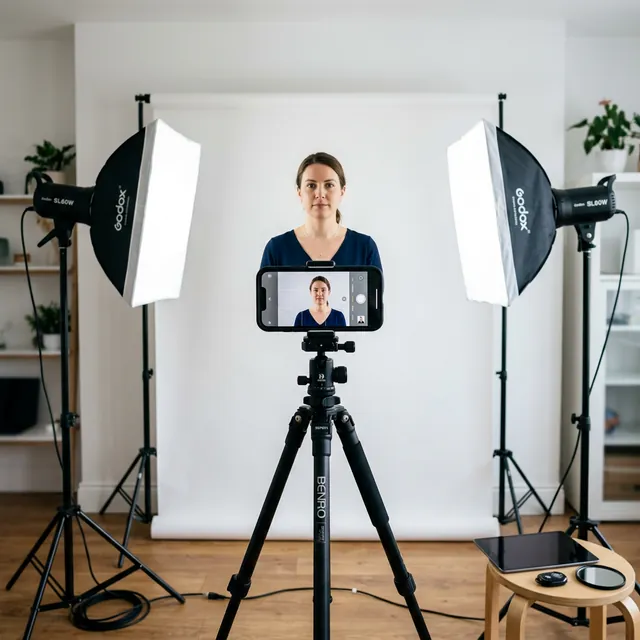
The number one reason for rejection is "shadows on the face." To avoid this, stand 3 feet away from a window during broad daylight. Do not use your phone's flash, as it creates "red-eye" and harsh shadows behind your ears. Natural, diffused light is your best friend. If one side of your face is darker than the other, use a white piece of cardboard or a sheet to reflect light back onto the dark side.
Step 2: The Background and The Pose
Stand against a plain white wall. No patterns, no posters. Ensure your shoulders are square to the camera. Do not tilt your head. Keep a "neutral expression"—this means a closed mouth and no smiling (most countries now ban smiling in passport photos to help facial recognition software). Your eyes should be open and looking directly at the lens.
Step 3: The "Goldilocks" Framing
Don't stand too close to the camera. It's better to stand 4-5 feet away and have someone else take the photo. This avoids "wide-angle distortion" where your nose looks larger than it is. Leave plenty of "white space" around your head. Our tool will do the precise cropping later; it's much easier to crop in than to try and add space that isn't there.
Step 4: Processing with iLoveToolHub
Upload your photo to our "Passport Photo Maker." Select your target country (e.g., USA 2x2 inches or India 35x45mm). Our tool will provide a guide overlay. Simply align your chin and eyes with the guides, and we will generate a perfectly sized 4x6 inch print sheet. You can then print this sheet at any local pharmacy for pennies, or upload the digital file directly to online application portals.
Common Mistakes to Avoid
- Glasses: Many countries now prohibit glasses in passport photos. Even if they are allowed, glare on the lenses will cause a rejection. It's safer to take them off.
- Uniforms: Do not wear a uniform or anything that looks like one. Camouflage patterns are also often rejected.
- Headgear: Unless for religious or medical reasons (with a signed statement), do not wear hats or headbands. Your hairline must be visible.
Why Use iLoveToolHub for This?
Your biometric data is sensitive. Generic "Passport Photo" apps often sell your face data to third-party advertisers or AI training companies. iLoveToolHub processes your face photo 100% locally in your browser. We never see your face, and it's never stored on a server. Security and convenience, finally in one place.